


I'm not sure how it happened, but I ended up down a rabbit hole of headlight restorers on youtube. One of the videos I watched, went on and on about how great RAIN X Headlight Restorer worked. After watching the results, I was curious and I looked up the price. I was shocked to find out I could buy it for a mere $9 on Amazon with free shipping so I bought a bottle which arrived today. I have provided link at the end of the review on where to buy this product.
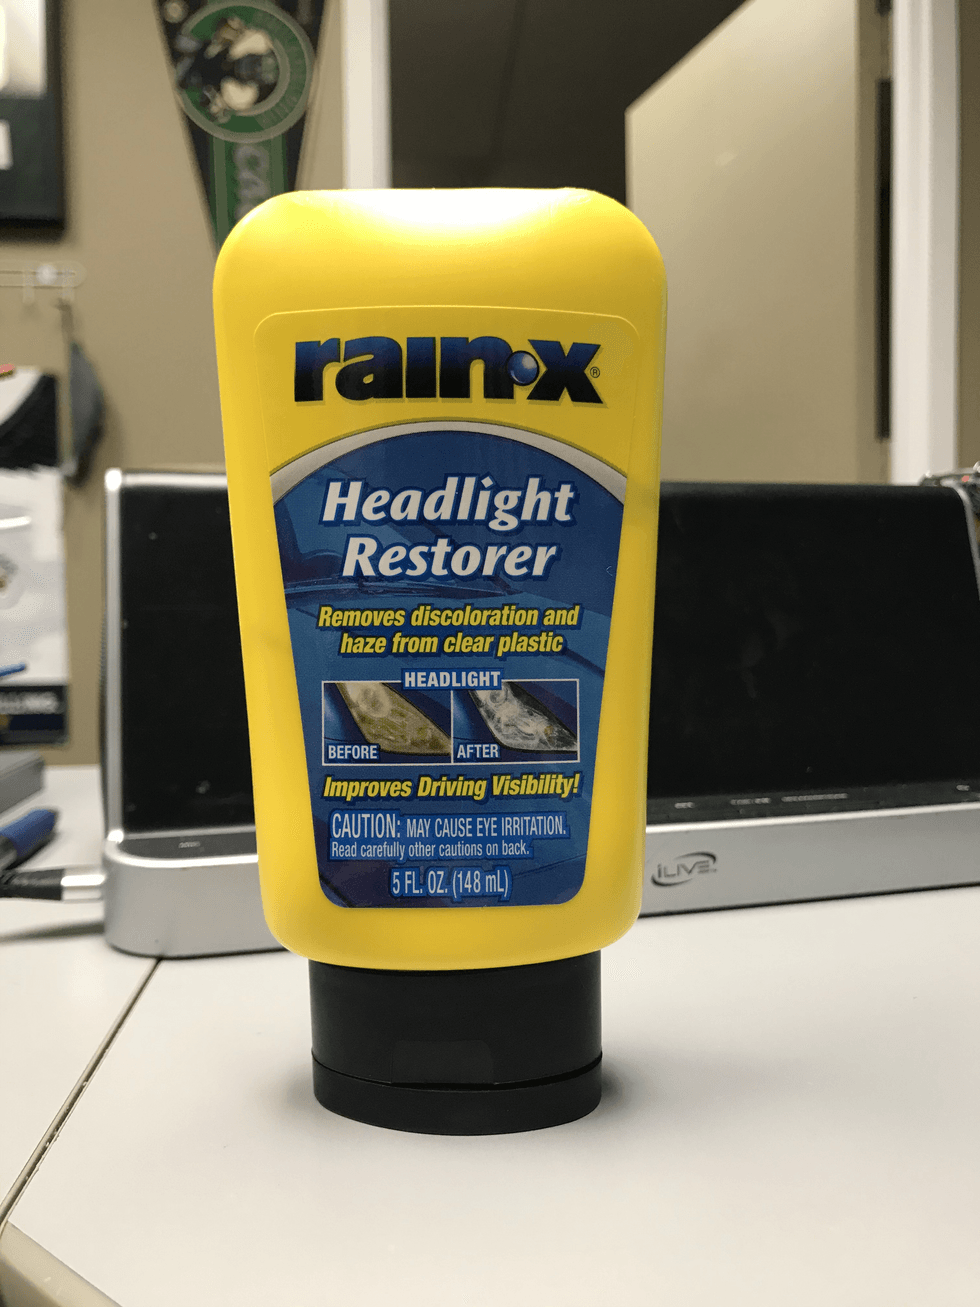
The five oz bottle touts that I will have "Improved Driving Visibility" and it will "Remove discoloration and haze from clear plastic."

The images on the bottle show some major changes, almost too good to be true. There is only one way to decide, I'm going to have to put it to the test.
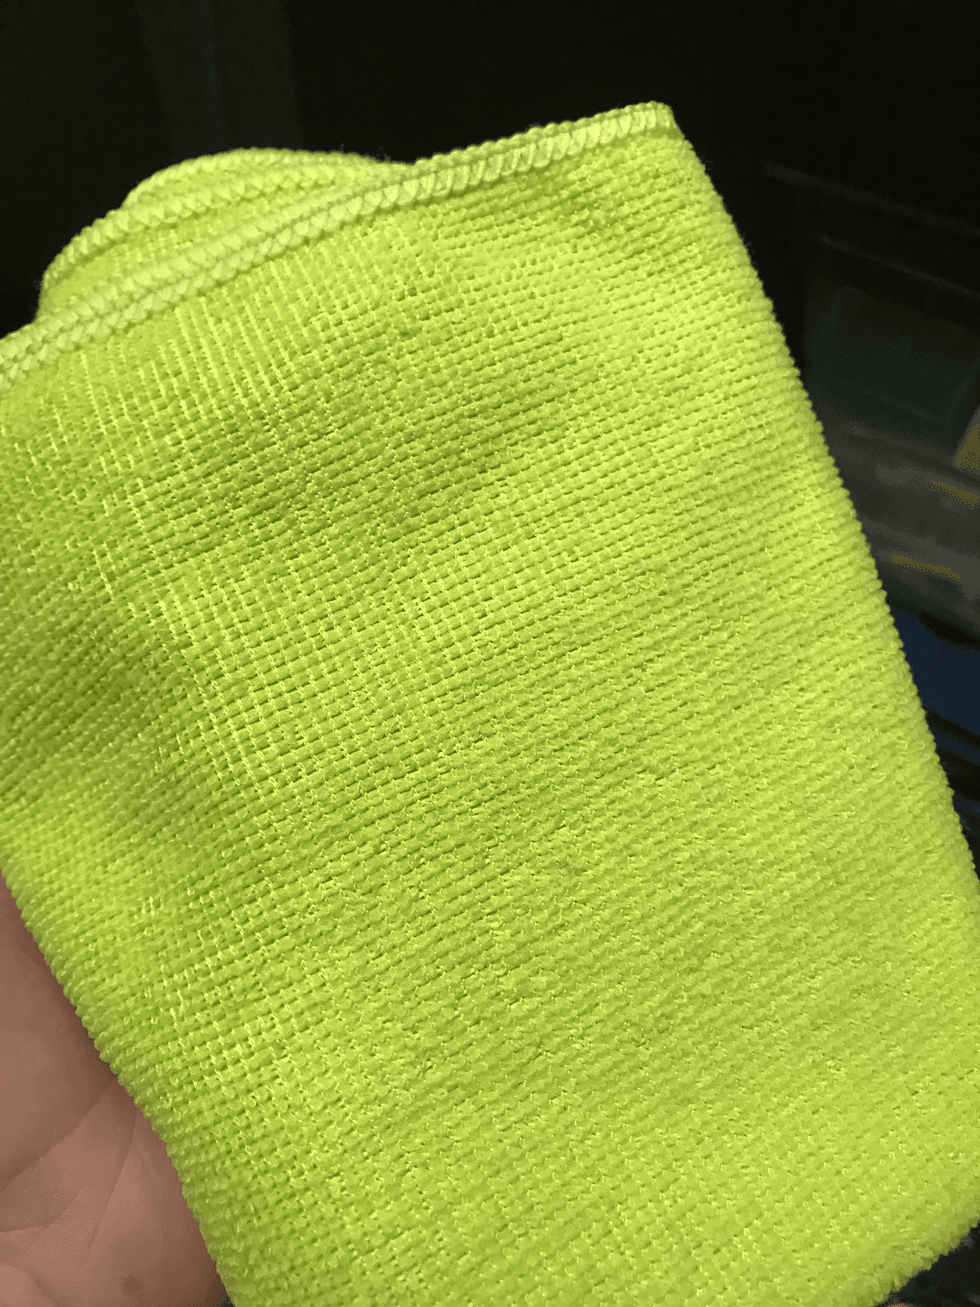
Equipped with the only tool I need, a microfiber towel, I'm ready to head outside and see how "great" this stuff really is.
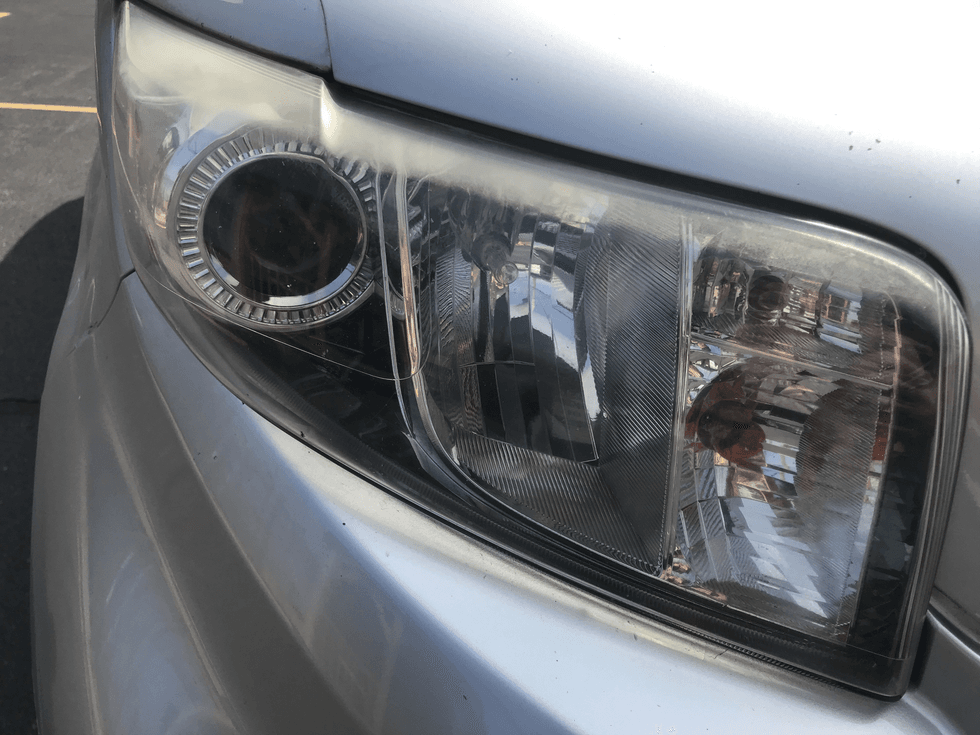
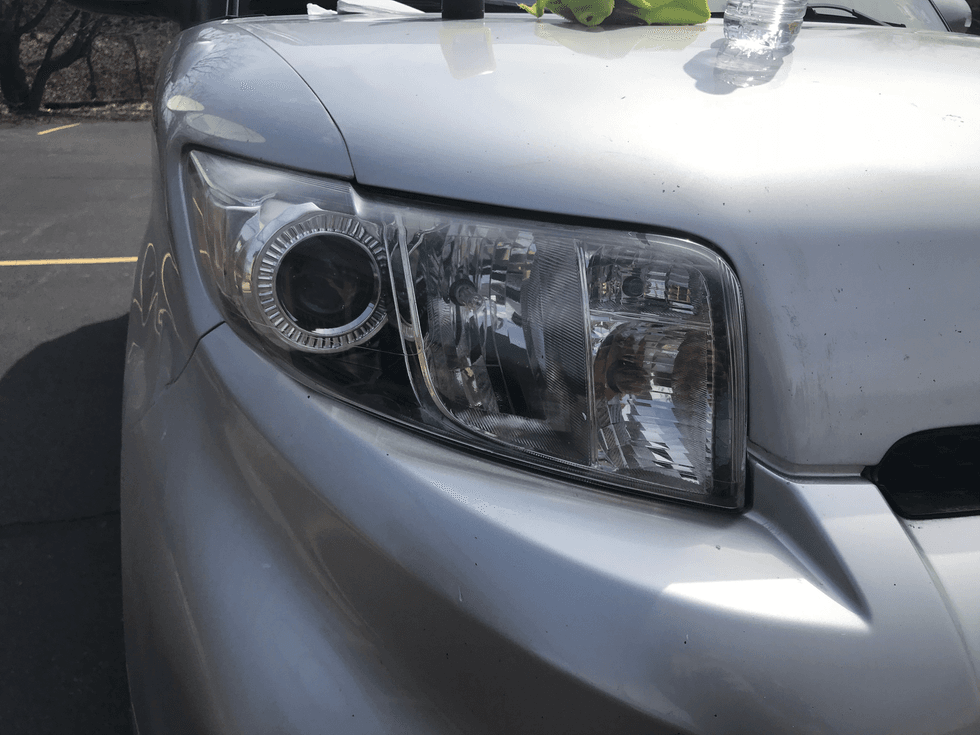
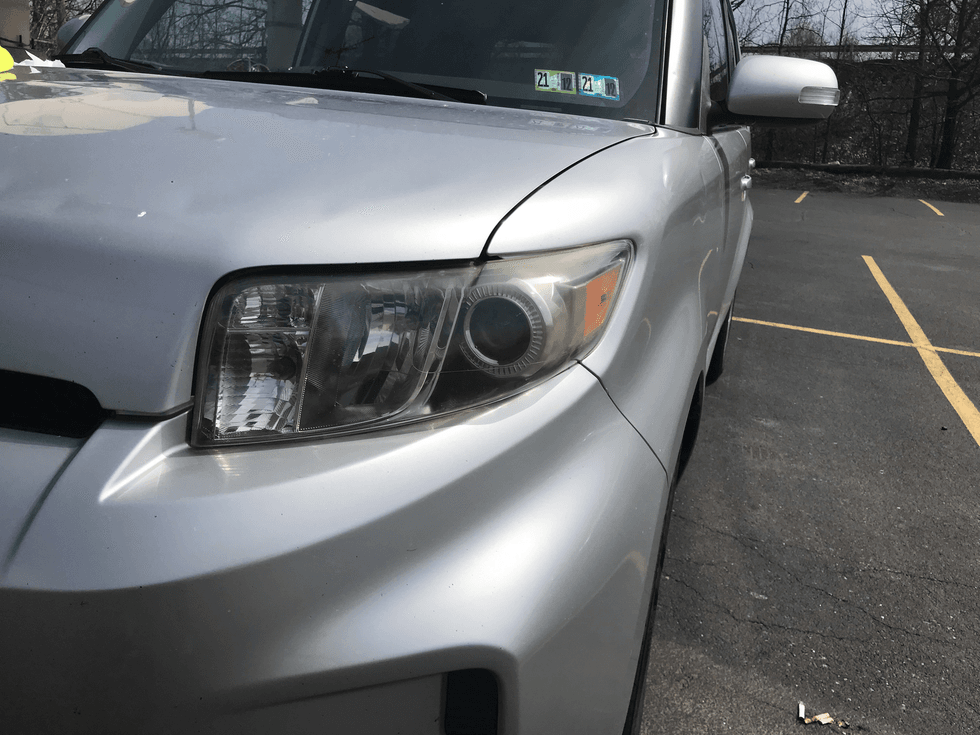
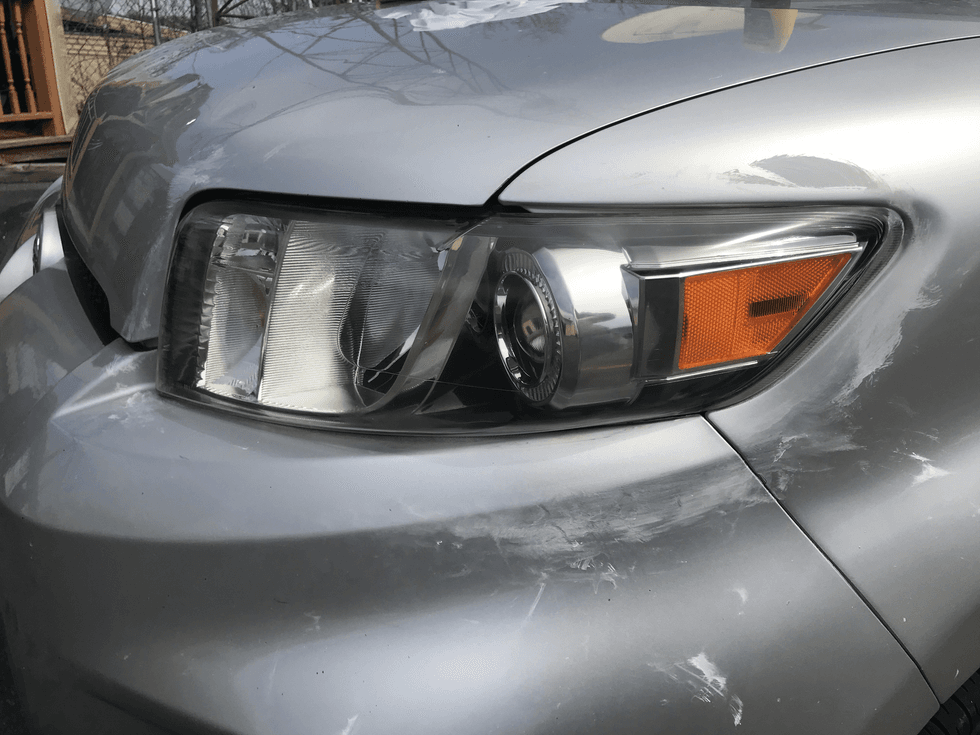
Here comes a collection of before shots of my passenger side headlight. Now, right off the bat, my headlights are were not that bad to begin with. I didn't really realize this until I went outside to "fix" them.
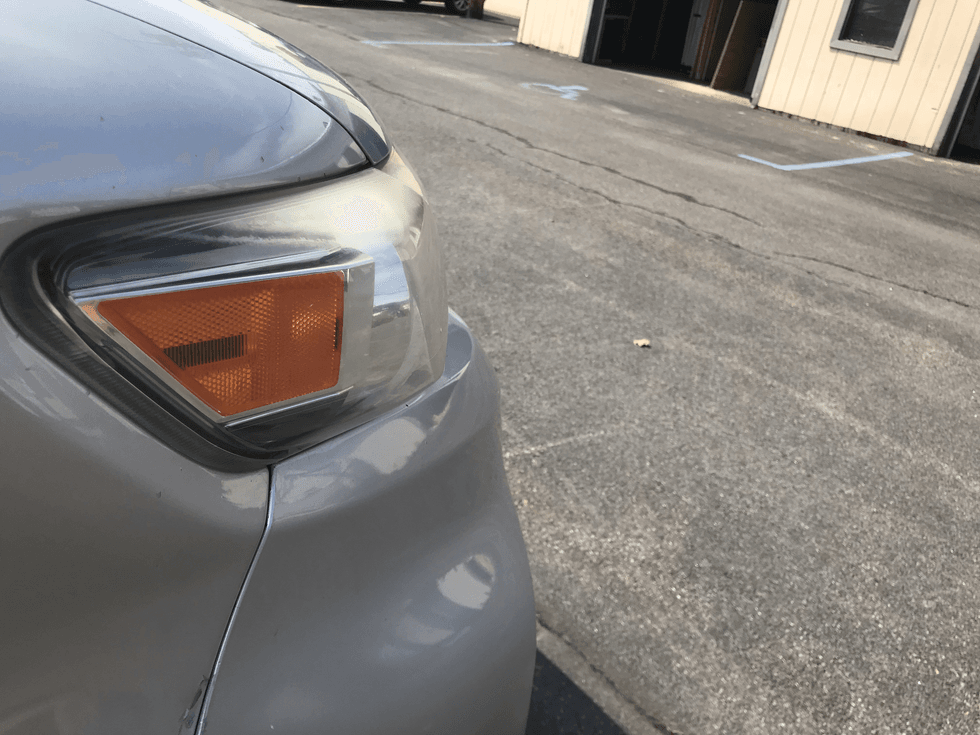
As you can see, my headlights aren't that bad. I'm sure there are some people out there going, "Crockett, those look brand new compared to mine!" But hey, if this product is truly a miracle maker, we should see some sort of difference. Right?
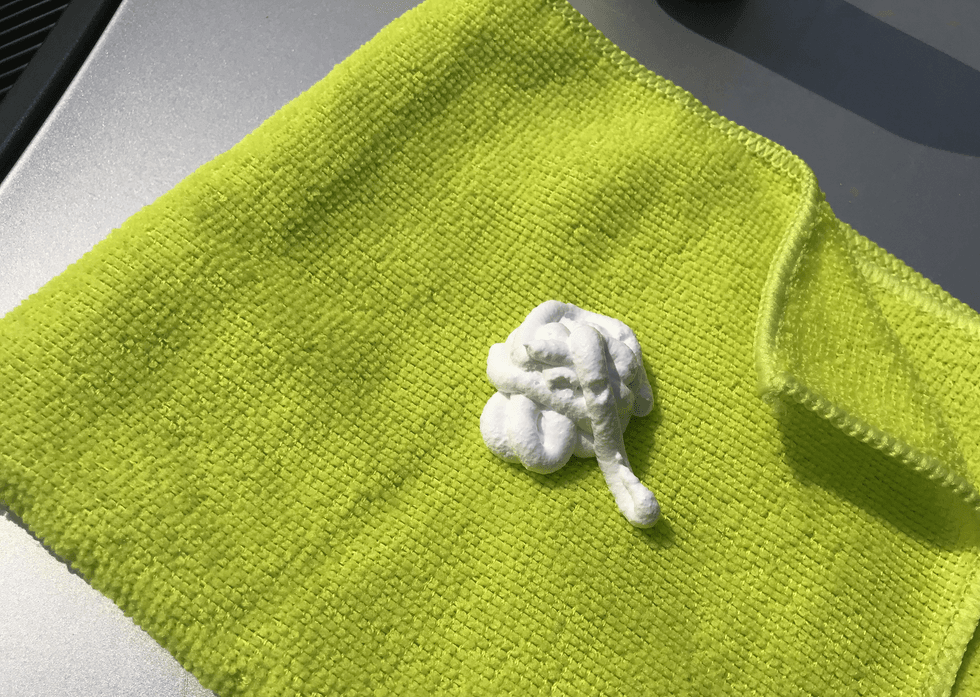
I start off with a healthy glob of the restorer right onto the microfiber towel.
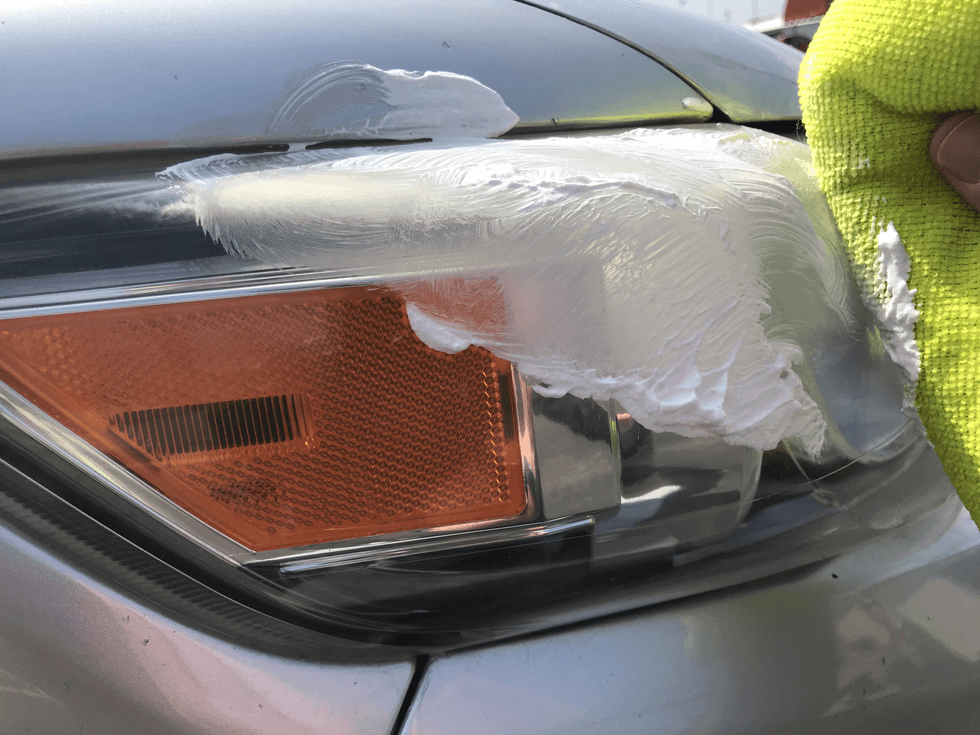
The directions on the bottle say to maker circular motions with the restorer and your microfiber towel. Cover the whole light, really work it in there, then rinse and wipe with a clean towel.
Annnnnnd here is where I ran into my one and only problem. I only brought one microfiber towel with me, because I figured, I could use the side of the towel I didn't use to wipe it clean, but the restorer bled all the way through to the other side of the towel. I also didn't realize I needed to rinse it off, I thought it would rub clean. Luckily, I had a water bottle and a spare shirt (probably ruined now) in the backseat. So I was able to rinse and rub dry.
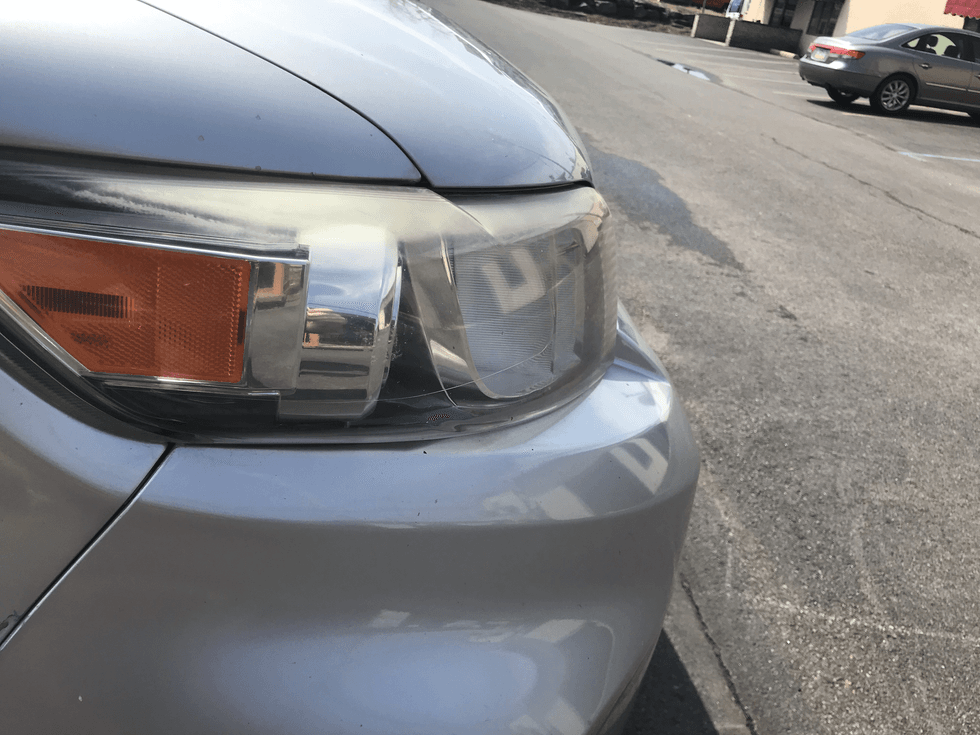
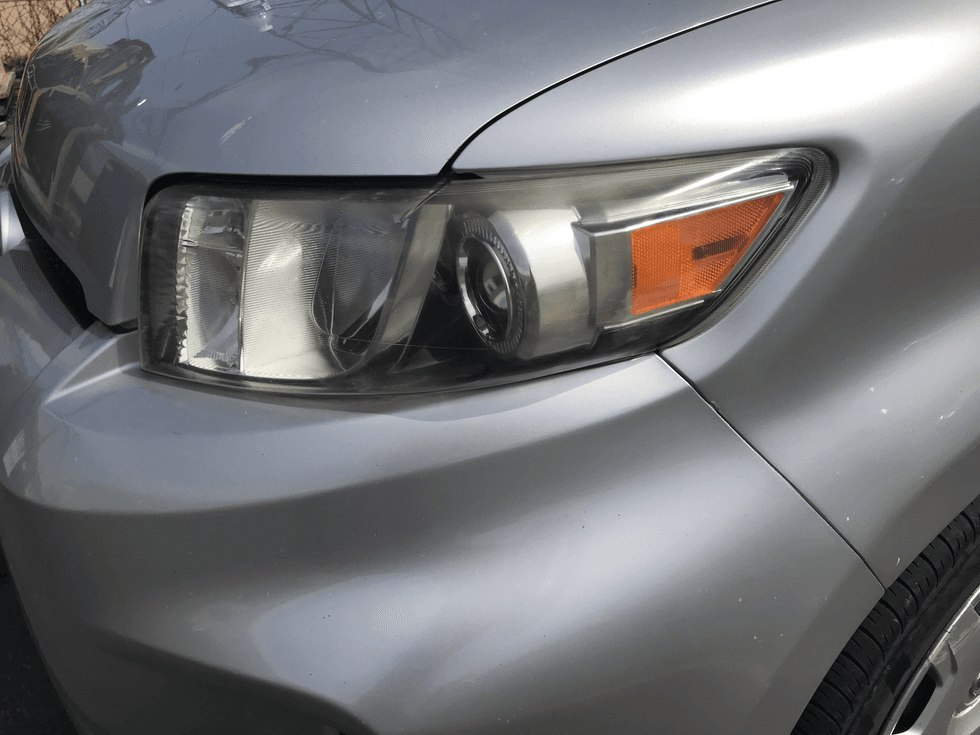
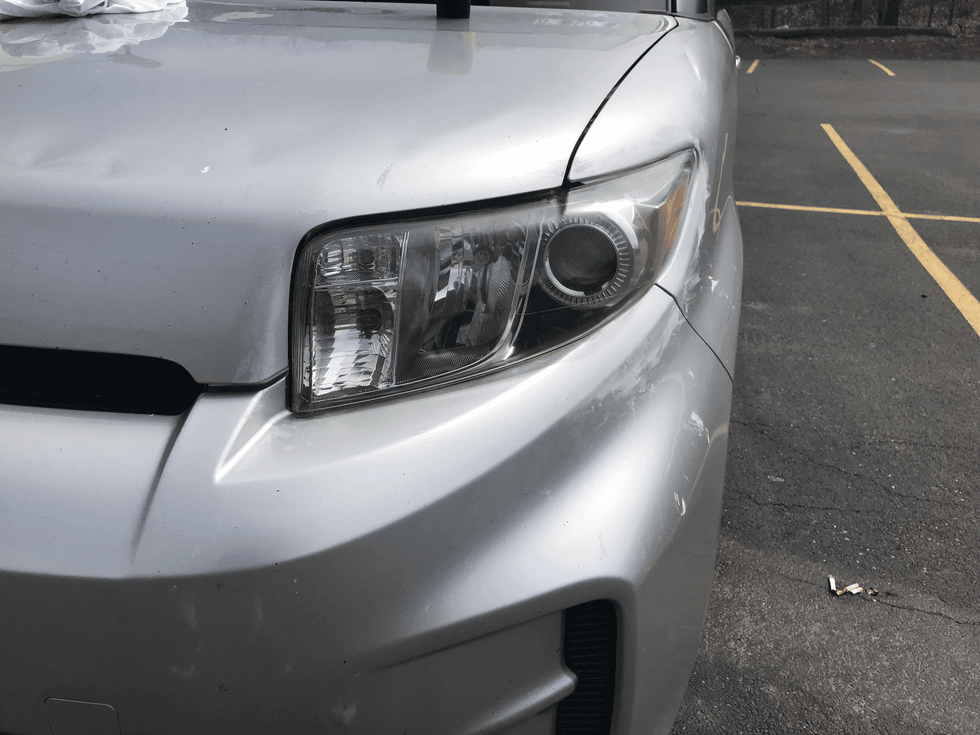
The results:
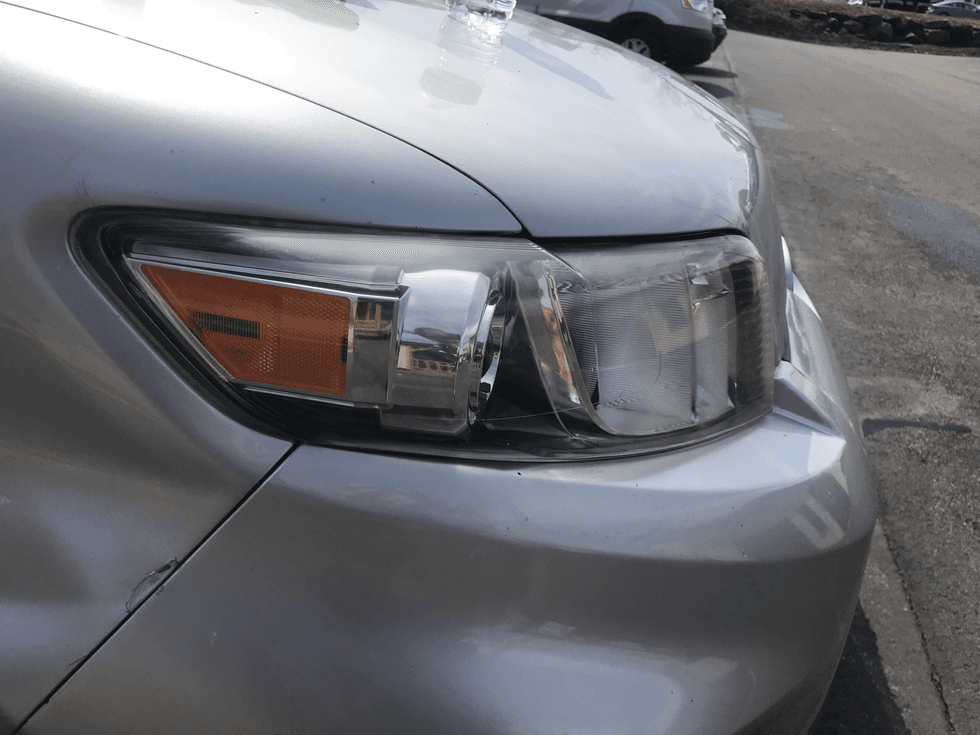
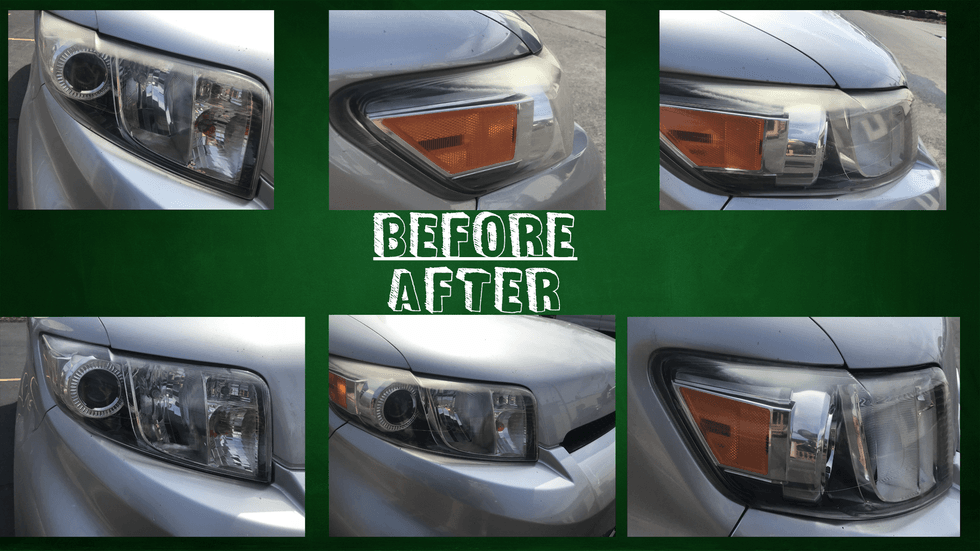
The pictures really aren't doing the final results justice. I only did one pass. The "experts" from the videos I watched suggested you make at least two or three passes for best results. This was after only one pass. For one pass, I have to say, I'm shocked by the results. Now lets head to the driver side.
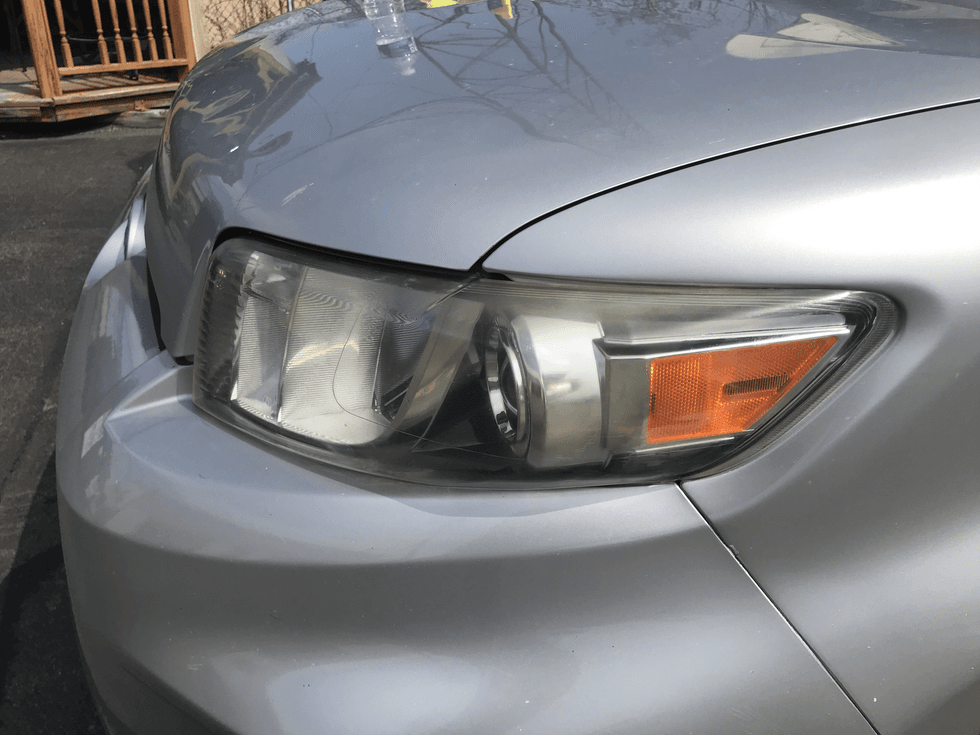
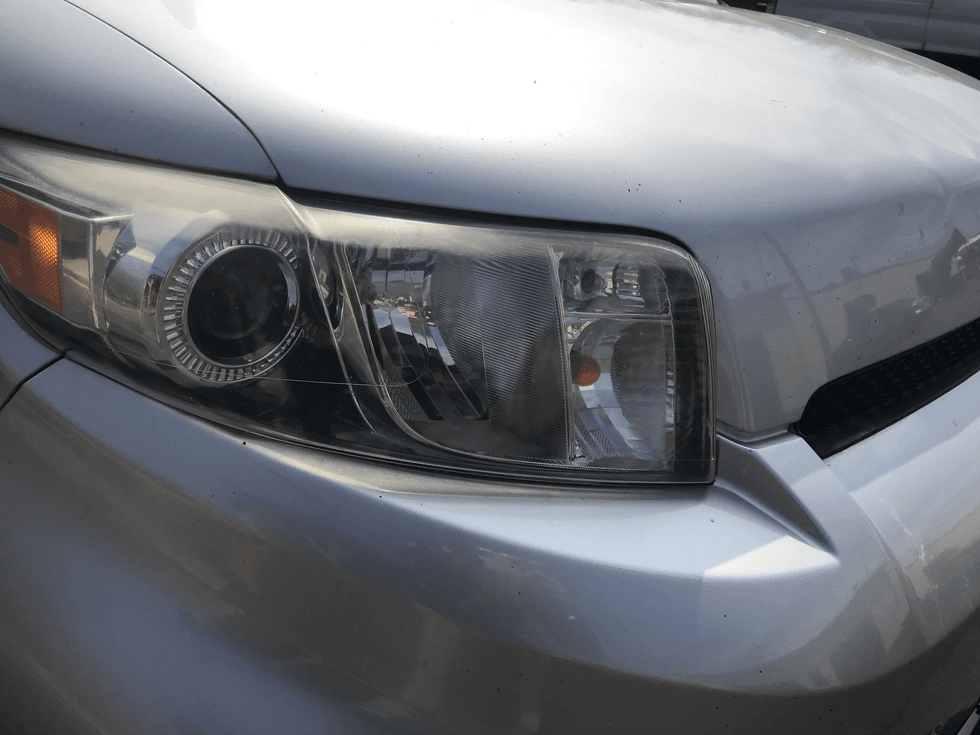
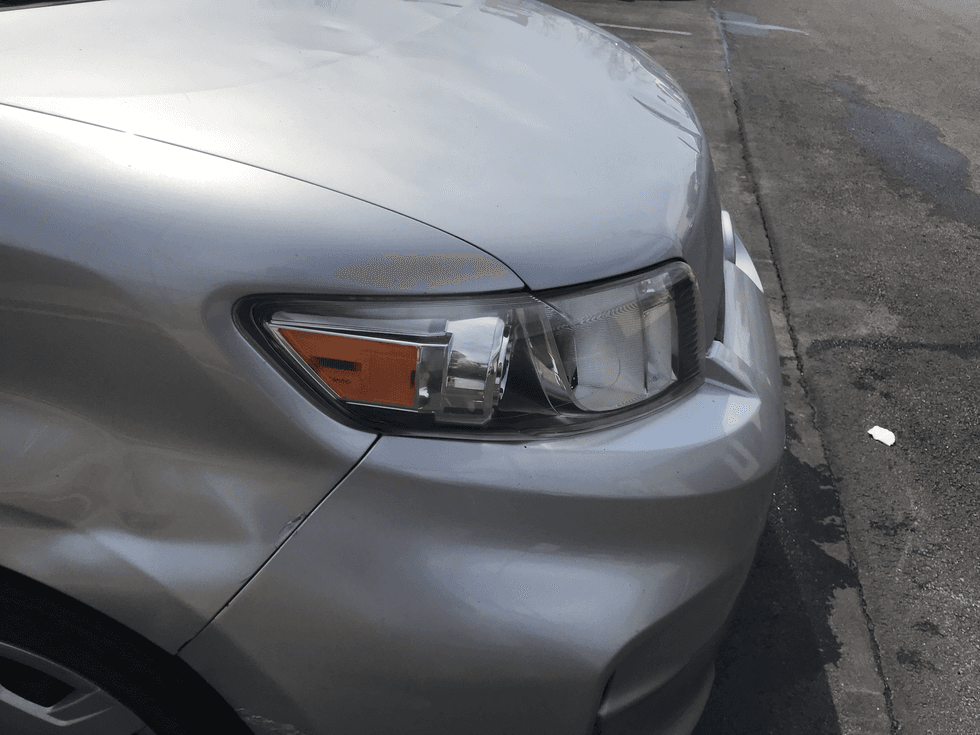
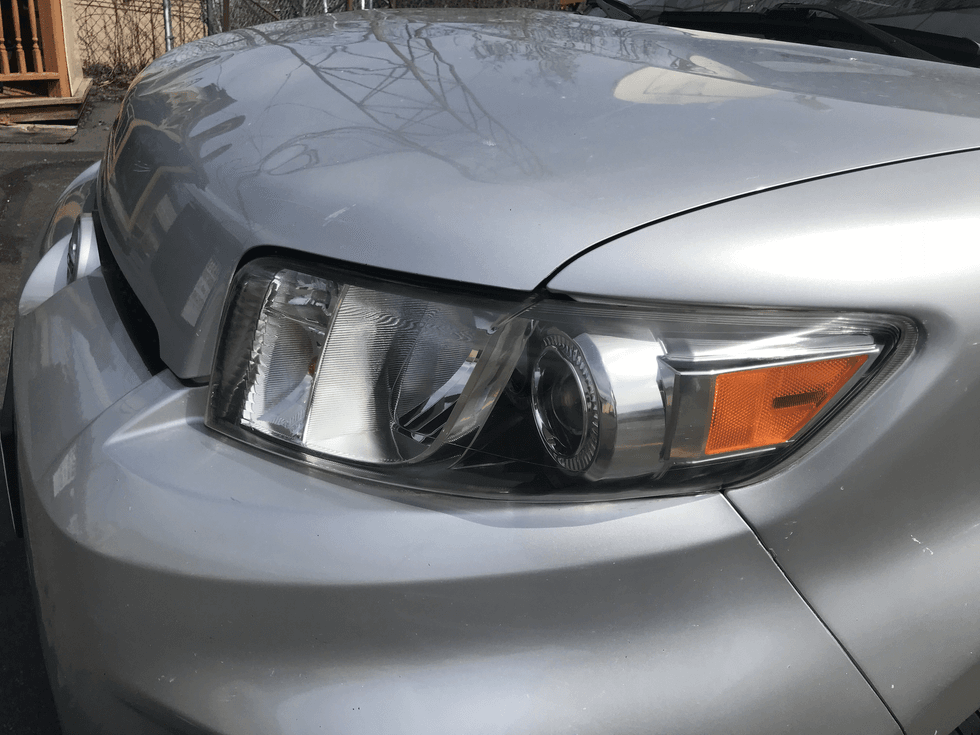
As you can see. The driver side is a bit more yellowed, so let's see how the Rain X Headlight Restorer fairs with some advance yellowing. I used the same amount and technique that I used on the passengers side.
The Results:
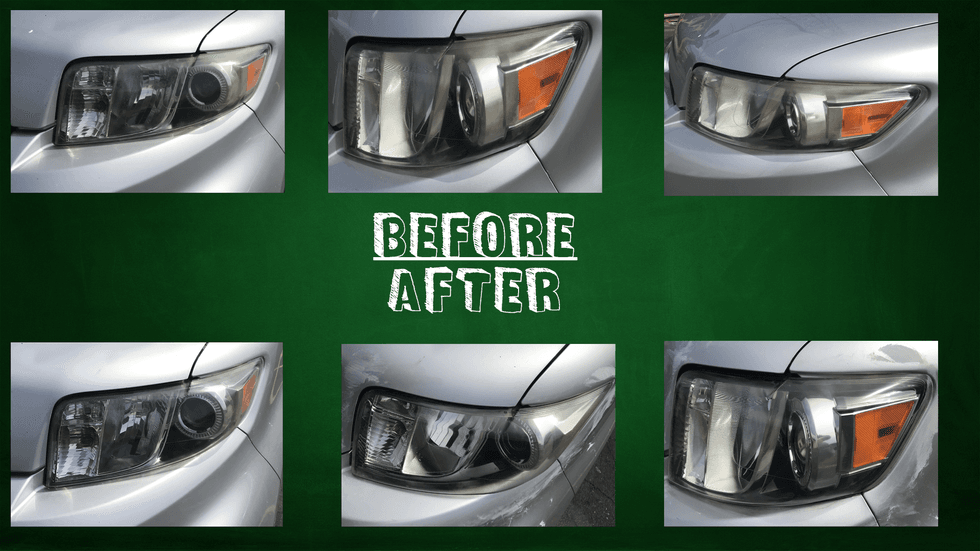
I mean it's pretty plain to see a huge difference after just one pass! With this review wrapped up, it's time to head to the report card for the final grade.
The Report Card:
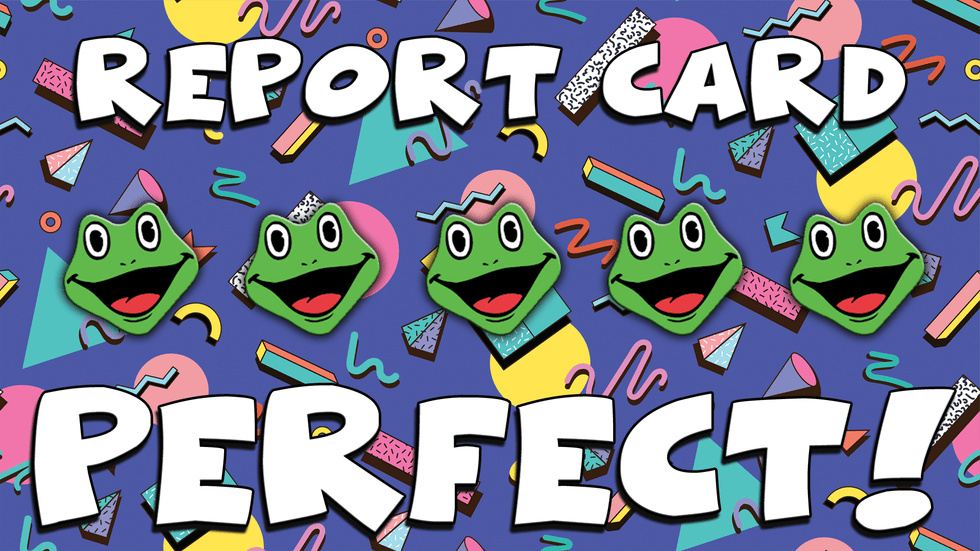
That's right, a perfect score! For the price ($9) you can not beat the results you get! I'm actually looking forward to going home and giving my lights two more passes and a proper cleaning! I hate having hazy headlights, because I have trouble seeing at night to begin with. Having my headlights look brand new for under $10 is well worth the investment. If you have hazy headlights, do yourself a favor and pick this up, you won't regret it!